With many organizations using Slack for their professional communications, we wanted to outline a way for you to receive Dejero Control notifications there as well. Notifications in Dejero Control provide users with real-time information on all devices, helping to keep your operations running as smoothly as possible. By sending Control notification emails into a Slack channel or private message directly, you can ensure that you receive the information you need in the platform you use the most.
There are three key steps you’ll need to follow to integrate Control notifications in Slack:
- Adding an email integration in Slack
- Creating a new user in Control with your unique Slack email
- Creating a notification in Control
It is important to note that in order to configure this, you need to have either the standard or plus version of Slack; this configuration won’t work with free Slack accounts.
1. Adding an Email Integration in Slack
This first step involves creating an email address that will automatically post email notifications into a specified Slack channel. Follow these next steps to set up the email integration in Slack:
- Go to the Slack App Directory.
- Head to the email app page in this directory.
- Click Add to Slack.
.png?width=740&name=Slack%20Integration%20for%20Control%20Notifications%20(Blog%20Post%20copy).png)
- Open the drop down selection beside Post to Channel, and choose which Slack channel or direct message you are wanting your email notifications sent to.
-1-1.png?width=740&name=Slack%20Integration%20for%20Control%20Notifications%20(Blog%20Post%20copy)-1-1.png)
- Click Add Email Integration.
Note: If you already have installed the Email integration, you will need to add an integration for each email/channel.
Once you have completed these steps, you will receive a confirmation email from Slack with your new unique email address. It’s important to make a note of this email; we suggest that you add this new email address to your address book for easy reference. If you forget what your new email address is, you can view it by going to Administration > Manage Apps, and clicking on the email integration.
If you’d like more background information on integrating emails in Slack, check out this web page that explains it in more detail. You’ll find the information that you need under the heading “Send emails into a dedicated Slack channel with the Email App”.
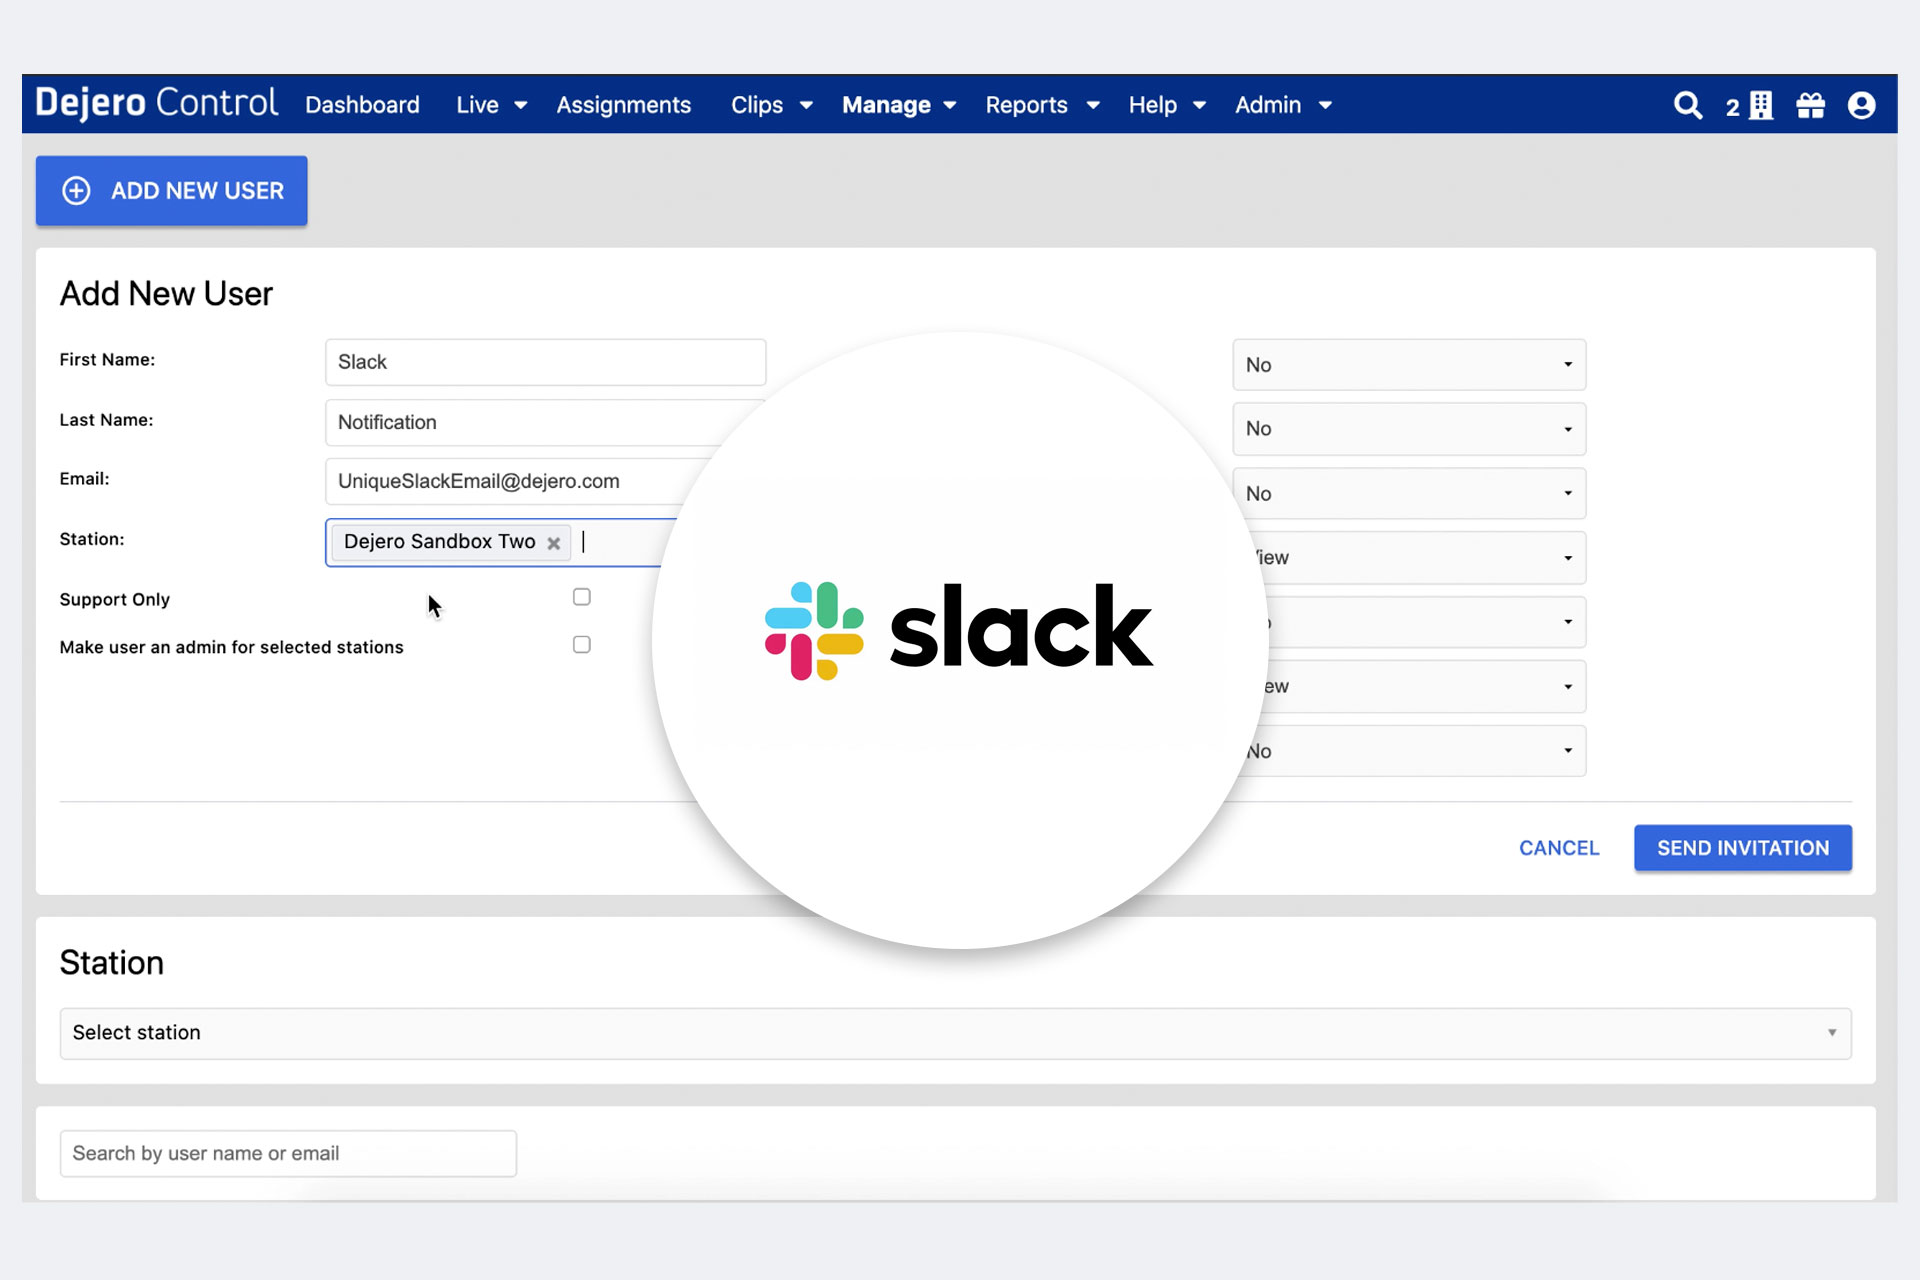
2. Creating a “Slack Notifications” User in Control
Now that you’ve created your unique email address for Slack, you’ll need to create a new user in Control with the unique email address assigned to it. When creating this new user, we recommend giving it a descriptive name such as “Slack Notifications” to make it easy to find and use. To create a new user, follow these steps:
- Go to Manage > Users.
- Click the Add New User button.
- Fill out the fields for this new user.
- First Name / Last Name: Since this is an account for notifications, you can use whatever you would like for the name.
- Email: Use the unique email address created by Slack.
- Station: Add the account to any station that you’d like to receive notifications for.
- All remaining fields don’t need to be changed and can be left as the default.
- Click Send Invitation. Note that you do not need to activate the account for it to receive notifications, however if you do wish to disable the notifications to this email, then you will need to activate and log into the account.
3. Creating a Notification in Dejero Control
Once you’ve created a “Slack Notifications” user, you’ll need to create a new notification in Dejero Control, adding that user as one of the notified parties in the process. There are four types of notifications that you can create in Control: monthly source cellular usage, live stream length, source live status change, and stream health change. Once you know which type of notification you’ll be needing, follow these steps to set it up:
- Go to the Reports tab at the top menu in Control, and expand the drop down menu.
- Select “Notifications” from the bottom of this menu list. This will show all of the notifications that you’ve created.
- Click the Create Notification button that’s in the upper right corner of this page. You will be led through an eight-step process in order to set up a notification.
- In step seven, you will be presented with the option to also notify other Control users. Click the search bar, and add the “Slack Notifications” user as one of its notified parties.
- Confirm all of the details listed in the summary, making sure that no changes need to be made.
- If as the creator of the notification, you don’t want email alerts in your account, you can turn “Notify me by email” to off. You will still be able to view the alerts in the Slack channel that you have set up.
Now that you’ve completed these steps, your notifications will be sent to this “Slack Notifications” user’s email, which will then be directed into the appropriate Slack channel!
Need Help?
If you need any assistance with setting up your Control notifications or other settings, reach out to our fantastic support team at any time! They are available to help you 24/7, and can be reached by email or phone at: